Welcome to our creative spring decorating project! In this tutorial, we invite you to create enchanting spring decorations together using flower bulbs and homemade wooden tealight holders. Let's bring the fresh energy of spring into your home and create handcrafted tealight holders that will transform your garden into a blooming oasis.
With a blend of natural elements and handcrafted warmth, we create decorations that celebrate the beauty of awakening spring. Immerse yourself in the lightness and grace of this season as we artfully arrange flower bulbs and craft rustic wooden tealight holders together.
Discover the joy of craftsmanship and experience how you can create unique decorations with simple materials and your own creativity. Get ready to capture the beauty of spring with your own hands and transform your home into a cheerful spring garden!
Materials needed:
- flower bulbs
- moss
- band
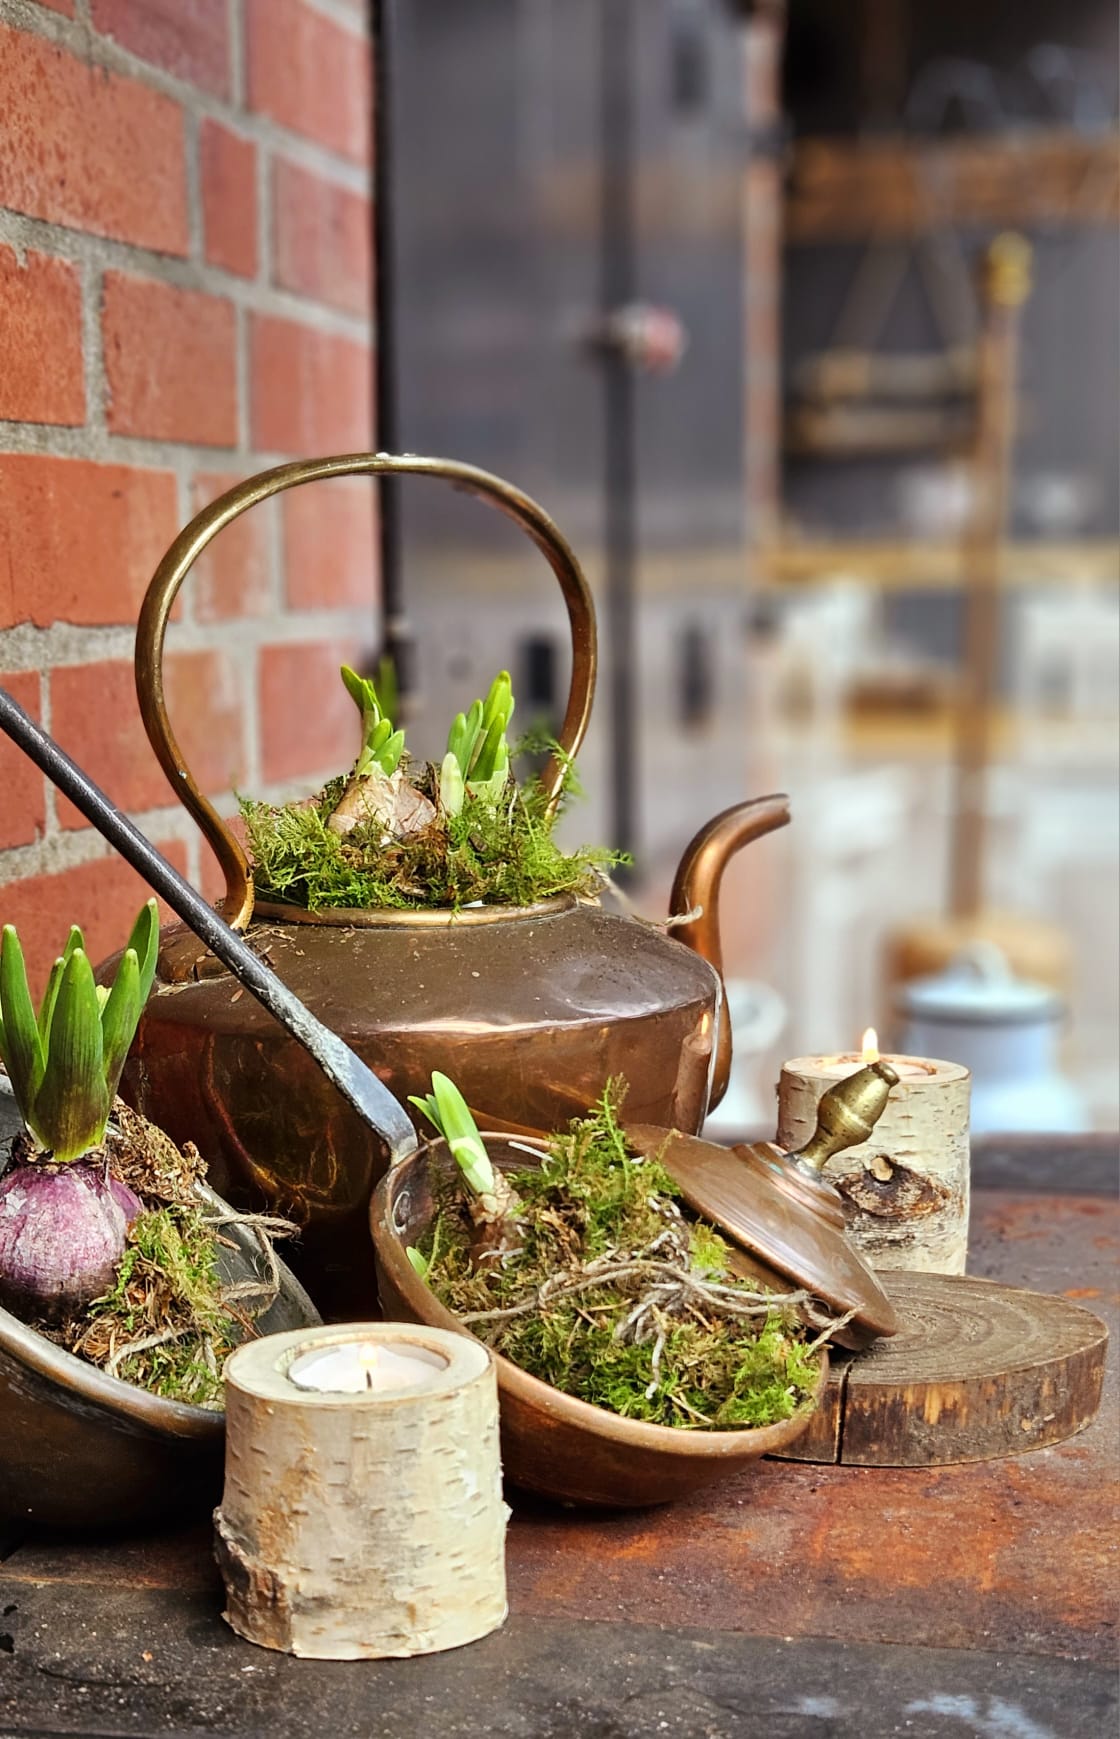
- Old teapot, soup bowl, soup ladles or similar
- Thin tree trunks
- tea lights
- Hole saw
Step 1: Enveloping delicacy – flower bulbs in a moss bed
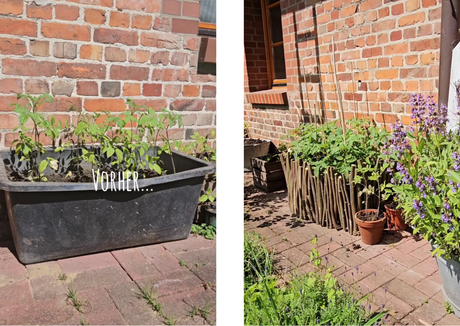
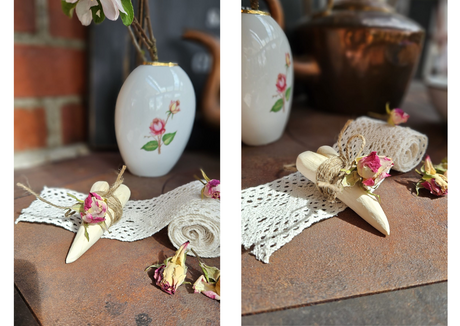
- Begin your spring DIY adventure by freeing the flower bulbs from their plastic buckets. Wrap each bulb lovingly in moss and secure it with a ribbon.
Step 2: Creativity in old containers – disposable buckets put on a show
- Place the disposable bucket filled with flowers inside an old teapot, soup bowl, or similar container. If any part of the bucket protrudes above the top, simply trim it with scissors. Let your creativity flow as you present the flowers in a charming vintage container.
Step 3: Romance in old trowels – flower bulbs in a moss bed
- Give your old soup ladles a romantic touch by elegantly placing moss-wrapped flower bulbs inside. This rustic presentation will add a touch of nostalgia to your spring arrangement.
Step 4: The warmth of handmade tea lights – tree trunks staged
- Go a step further and create your own homemade tealight holders. Saw thinner tree trunks to the desired height of the tealight.
Step 5: Make a hole for the tea light
- Use a hole saw to create space for your tea light. Check periodically to ensure the hole has reached the perfect depth for the tea light.
Step 6: Lights to welcome spring – insert a tea light
- Place the tea light in the drilled hole. Admire the warm light and feel spring enter your home.
Experience the magic of spring in every detail of your self-designed arrangement. The harmonious combination of flower bulbs, moss, and handmade tealights creates an atmosphere that welcomes spring in all its splendor.
Click here for the video tutorial: