
Materials needed:
- A Euro pallet or disposable pallet
- crowbar or pry bar
- saw
- Tree bark
- Color (Brown/Black)
- Paint brush
- Branch
- screws
- Decorative birds
- First, let's prepare the pallet. Using a crowbar or pry bar, we remove two baseboards to create space for our decorative element.
- Depending on how large we want our birdhouse terrace to be, we saw off part of the pallet. We decided to keep three slats of the pallet to achieve a suitable size.
- Now we come to the design of the roof. The three free wooden slats at the top are sawn to create a roof shape. This will later be decorated with tree bark to give our terraced birdhouse its rustic look.
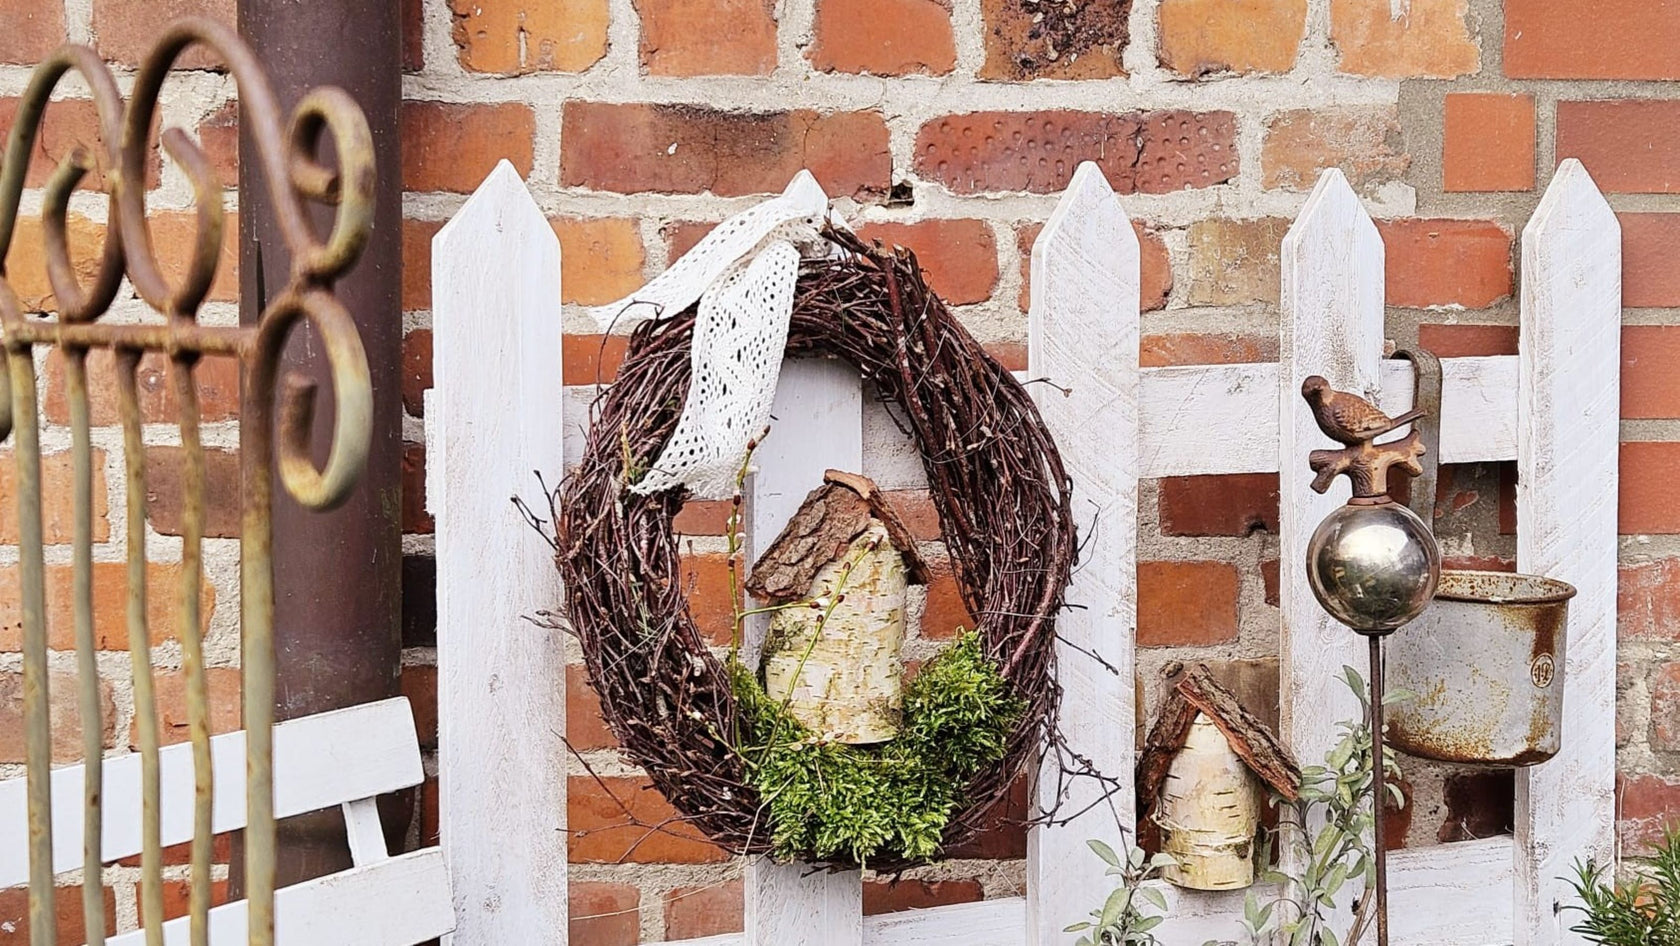
- To give our project a rustic touch, we roughly paint the palette with brown or black paint. Then we paint black circles at the top of each slat to symbolize the entrance area of the birdhouse terraces.
- To give the "birds" a place to land, we saw a branch to the length of the decorative element and attach it to the center strip. This gives our feathered friends a practical landing platform.
- Finally, we attach our decorative birds to our garden decoration ensemble. Feel free to position the birds in different places to create a lively and inviting scene.
With these personal steps, you've completed a beautiful DIY project that not only beautifies your garden but also creates a charming atmosphere. Enjoy the joy your new garden decor brings and let nature inspire you!
Click here for the video tutorial: