
Welcome to our new DIY adventure, where you can join us in recreating a rustic desk using an old chest of drawers! Immerse yourself in the world of craftsmanship and let's create a functional and charming workspace together that not only expresses your creativity but also brings a touch of rustic style to your room.
In this guide, we will gently guide you step-by-step through the creation of a desk that not only meets your organizational and functional needs but also brings a touch of natural beauty and authenticity to your home. The rustic charm is ensured through carefully selected materials and attention to detail.
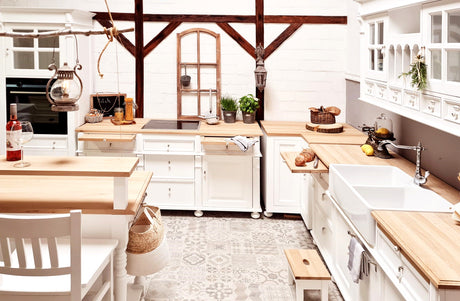
A custom-made desk that reflects your personal style. Take this opportunity to enrich your home with a handcrafted piece of furniture that will enhance not only your workspace but also your everyday life. This DIY project will strengthen your crafting skills and add a rustic, warm atmosphere to your room!
Materials needed:
- Old tabletop or workbench top
- Sandpaper or sanding machine
- Wood oil or wood wax
- Two beams
- glue
- screws
- Paint and spray paint
- Chest of drawers
- screwdriver or drill
- Force
- chisel
Step 1: The time of grinding and awakening
- Begin your DIY adventure by carefully sanding the old tabletop or workbench top, giving it a smooth and inviting surface.
- Give your wooden board a new shine by treating the sanded surface with wood oil or wax. The natural sheen will now accentuate the beauty of the grain.
Step 3: Preparing the beams & scraping out the center
- Now cut two beams to size. Note that the ends of the beams must be cut at an angle to allow for a clean overlap later . Ensure that the final height matches the height of the drawer unit. A notch is then created in the center of each beam half. This can be done with a chisel or another suitable tool. The notch should be exactly half the width of the wooden beam.
Step 4: Positioning the beams
- Position the two prepared beams so that they overlap at a right angle. The diagonally cut ends should be located exactly in the middle of the opposite beam half.
Step 5: Gluing and fixing
- Apply wood glue generously to the overlapping surfaces. Then join the beams so that they intersect and the notches interlock. Use clamps to hold the beams firmly and securely in place while the glue dries.
Step 6: Additional fastening
- For an even more stable connection, you can additionally drive screws or nails through the overlapping beams. This ensures a durable and load-bearing cross-lap joint.
Step 7: A color symphony – painting and spraying
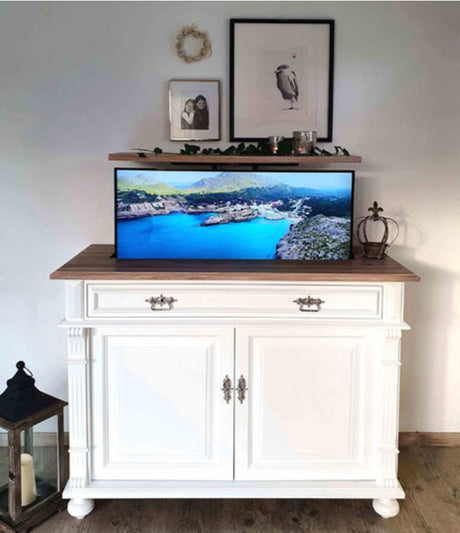
- Give your old chest of drawers and crossbeams a colorful makeover by painting or spraying them as you like. Let the paint dry and watch your piece of furniture slowly come back to life.
Step 8: Final step – Attaching the plates
- Once everything is dry, add the finishing touch by attaching the prepared panel to the elegant beam and the refurbished chest of drawers. Let your new DIY furniture piece shine in all its glory.
Admire your handcrafted work – a rustic desk with drawers that is not only functional but also tells a story. May this desk transform your study into a place of inspiration and comfort.
Click here for the video tutorial: