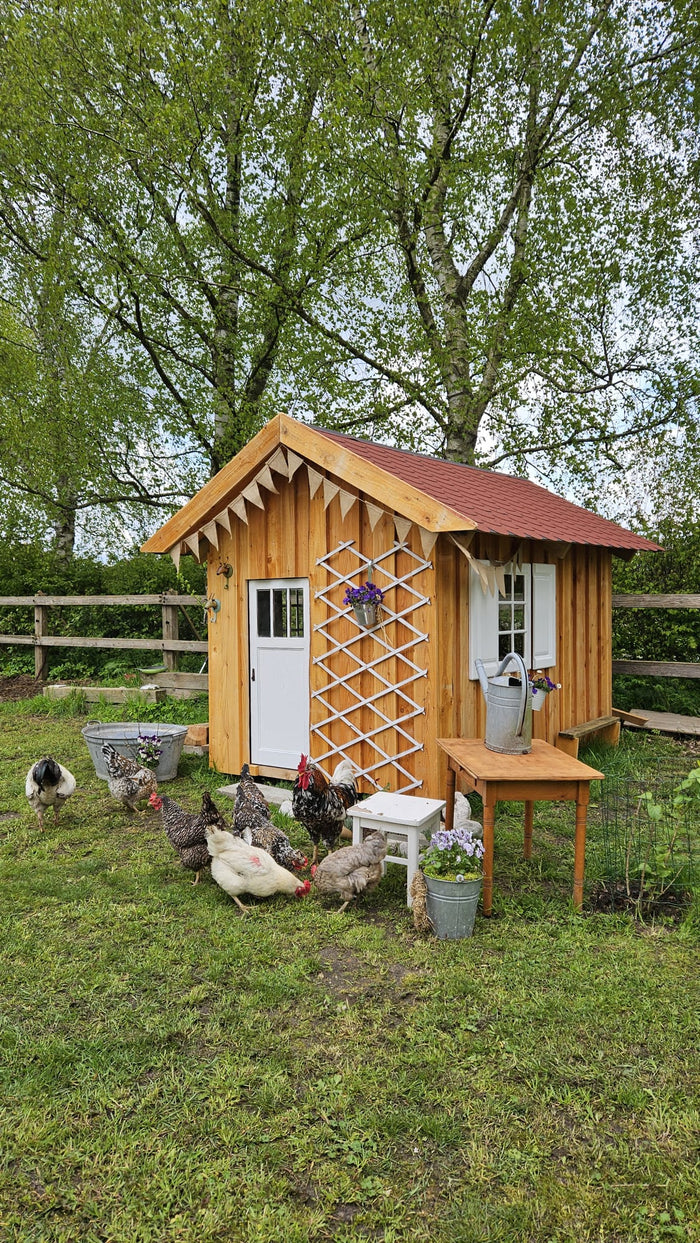
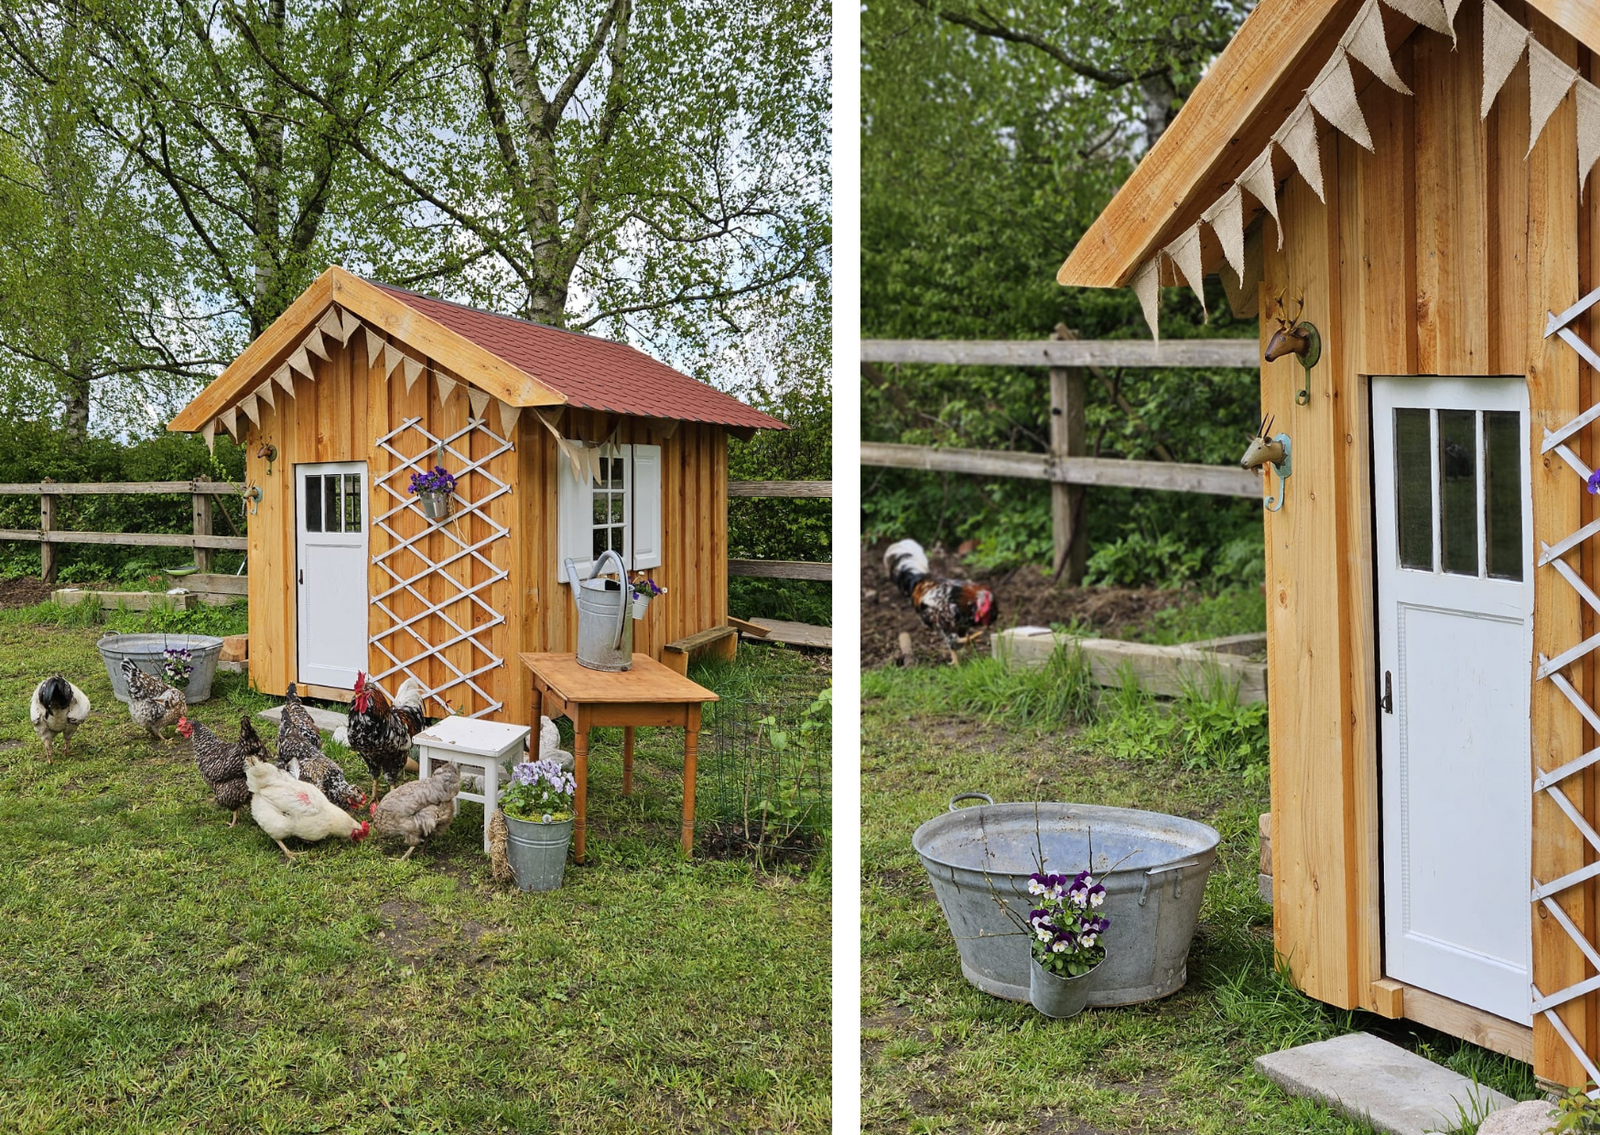
Get ready to embark on a DIY project that your children will love. Today, we'll build a mini country house together, perfect as a playhouse or retreat for your little ones. This project offers plenty of room for creativity and is sure to become a favorite spot in your garden or playroom. Follow these instructions to give your children a unique and unforgettable playhouse.
Step 1: Planning the mini country house
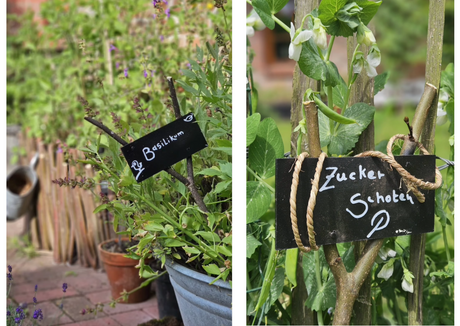
- Start planning your mini country house. Consider the size and shape that best suits your available space and your children's wishes. Draw a rough sketch to serve as a guide. Don't forget to include space for windows and doors, if desired.
Step 2: A stable foundation
- Before we begin the actual construction of the mini-country house, we need to create a solid foundation. Bury paving slabs in the ground to create a stable base. The slabs will prevent the house from sinking into the ground during rainy weather. Place them where the frame will rest and make sure they are level.
Step 3: The base frame
- Now the construction begins! Saw the roof battens to the desired dimensions of your mini country house. Use brackets and screws to screw the battens together to form a sturdy frame. For added stability, you can screw a roof batten vertically to the wide side of the frame. Place cross braces at the top to reinforce the basic structure. Screw horizontal roof battens to the bottom; these will later form the base of the house.
Step 4: The roof frame
- Next, we'll build the roof frame. Construct a gable end in the middle, at the front, and at the back for stabilization. This will give the roof the necessary structure. Make sure all connections are securely screwed in and nothing wobbles.
Step 5: The roof covering
- Next, screw OSB boards to the roof frame. These form the base of the roof. To make the roof weatherproof, then attach pond liner or roofing felt. Make sure there are no gaps or holes to prevent water from getting in.
Step 6: The roof shingles
- For a typical country house look, install roof shingles. Start at the bottom of the roof and work your way up. Make sure to overlap the shingles so that they provide good protection against rain.
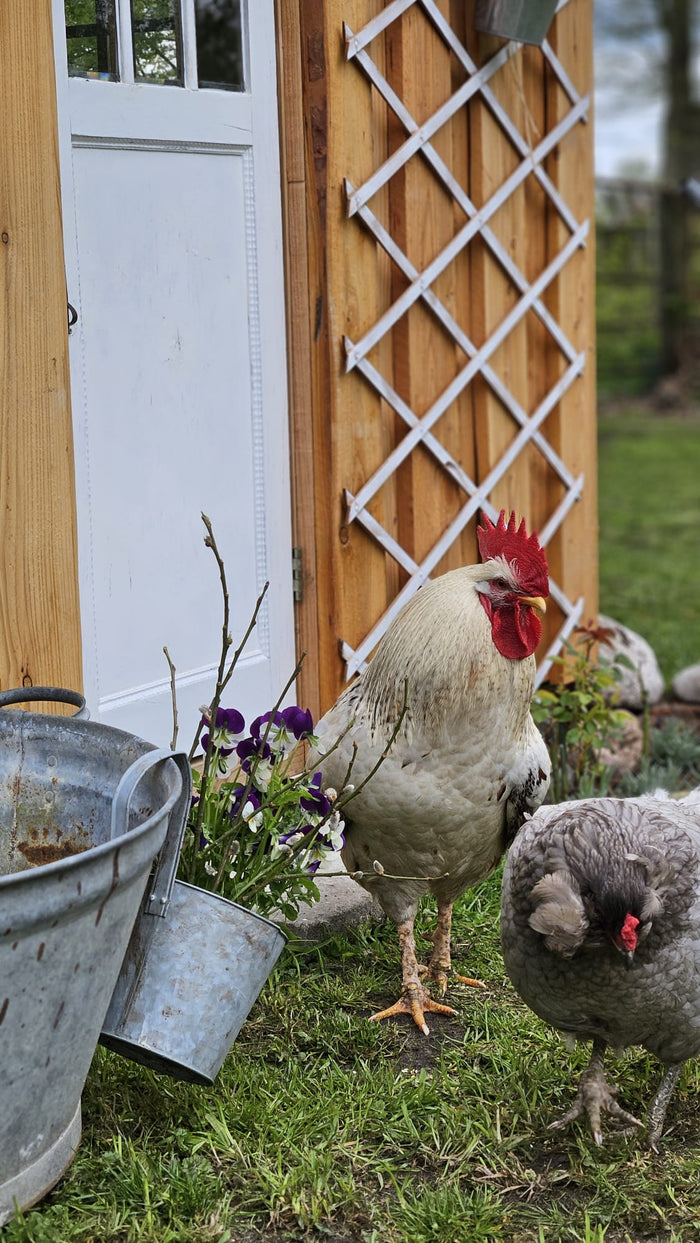
Step 7: The outer cladding
- The exterior cladding gives the mini country house its unique look. Screw wooden boards to the frame, overlapping them slightly. This means you attach two boards with a small gap between them and then place another board over them to close the gap. Leave space for windows.
Step 8: Windows and doors
- For the windows, you can use leftover window frames or old cabinet doors. Cut suitable openings in the walls and insert the window frames. A larger cabinet door also works well for the front door. Mount it securely so that it opens and closes easily.
Step 9: Shutters
- Window shutters add extra charm to your mini country house. You can build them yourself; check out the " DIY Window Shutters " instructions for inspiration.
Step 10: The floor
- Finally, attach the floor. Screw wooden boards onto the transverse roof battens to create a stable and secure base. Make sure everything is tight and there are no sharp edges.
With these steps, you've built your own mini country house that will provide your children with hours of fun. Enjoy their joy and let their smiles inspire you! Have fun building and playing!
Click here for the video tutorial: