
Welcome to our creative guide on how to create a charming and practical menu board from simple materials! In this DIY project, we'll show you step-by-step how to design a unique menu board using scrap wood and chalkboard paint, perfect for your kitchen, café, or special events. This easy and affordable solution allows you to display your menu or messages in style. Follow our instructions to add a personal touch to your space while promoting sustainability by reusing leftover materials. Let's embark on this fun DIY journey to create your own one-of-a-kind menu board!
Materials:
- An old piece of wood
- Pencil and ruler
- saw
- sandpaper
- Chalkboard paint
- Paint brush
- chalk
Step 1: Mark and draw the desired shape
- Take the old piece of wood and sketch the shape of the desired board onto it with a pencil. It could be rectangular, oval, round, or shaped according to your personal preferences. Use a ruler to draw straight lines and define the desired shape.
Step 2: Cutting out the shape
- Use a saw to cut the shape out of the wood along the drawn lines. You should work slowly and carefully to cut the desired shape precisely.
Step 3: Smoothing the edges
- After cutting out the shape, use the sandpaper to smooth the edges and surface of the wood. This prepares the wood for the paint and ensures a beautiful finish.
Step 4: Applying the chalkboard paint
- Apply the chalkboard paint with a brush to the wooden surface you wish to use as a chalkboard. Ensure you apply the paint evenly and thinly. Allow the first coat to dry completely before applying a second coat to achieve a uniform finish. We recommend marking the desired area with masking tape beforehand for a clean, even transition.
Step 5: Allow to dry and final steps
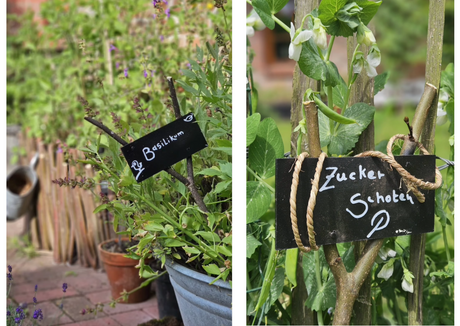
- Allow the chalkboard paint to dry completely, according to the instructions on the paint can. Once the paint is dry, you can write on your new menu board with chalk.
Step 6: Personalize and hang
- There are no limits to your creativity. Write your desired message or menu on the chalkboard surface with chalk. For added charm, you can sketch some decorations. Attach a hanger to the back to hang the menu board wherever you like.
There you have it! Your first DIY project, a menu board made from scrap wood and chalkboard paint, is complete. We hope you enjoy your homemade menu board!
Click here for the video tutorial: